Lava Lampalong: Week 01
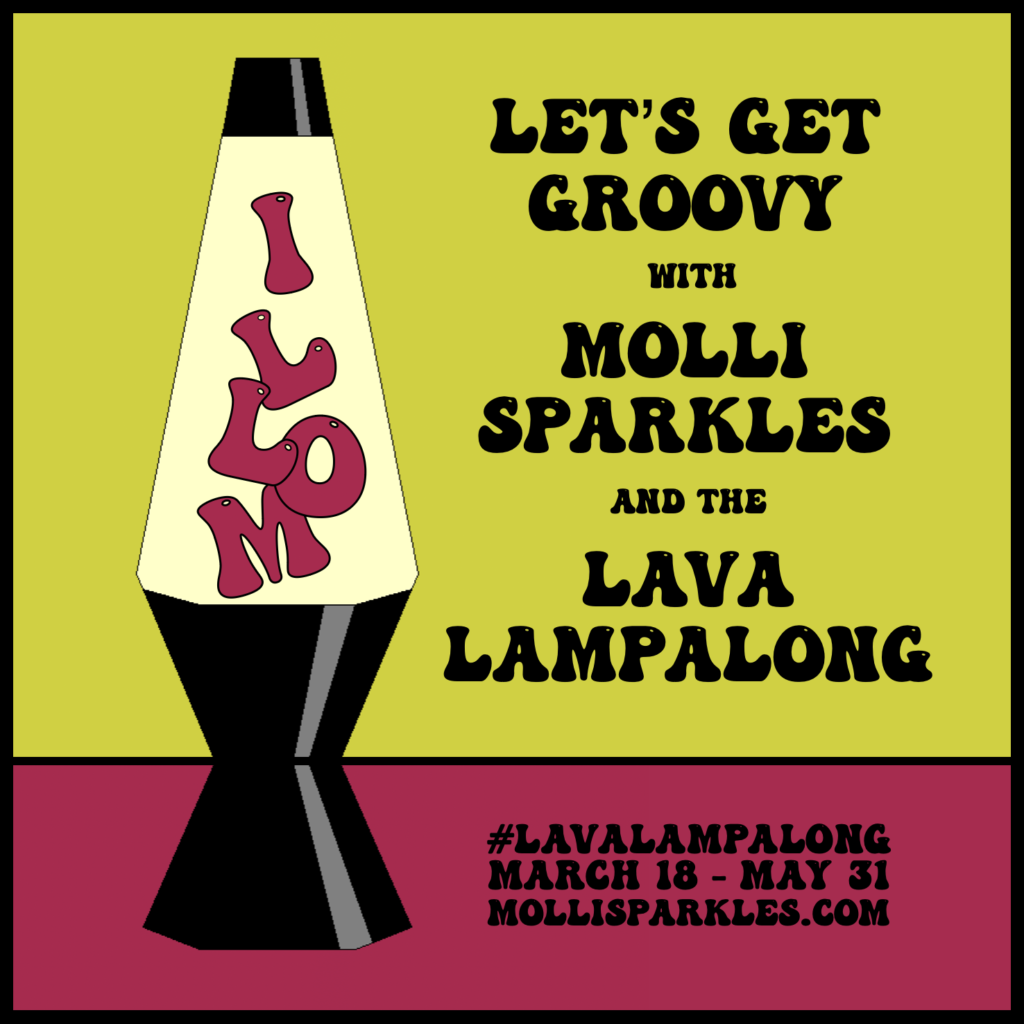
Time to turn on your lava lamps and watch them melt all your troubles away! That’s right, the Lava Lampalong kicked off this week with one simple task: create one test block. This week is all about getting yourself familiar with the pattern, placement of your fabric, and ironing out any wrinkles. As they say, practice makes perfect, so now is the time to embrace the mistakes. Full disclosure, I made plenty of sewing errors when I made my first test block, and I designed the pattern! At this stage, don’t cut into the good stuff quite yet. Instead, pull out your scraps, or that fugly fabric you’ve been refusing to throw away. Also, don’t feel like you have to use this test block for anything other than learning. Understanding the construction process and the best flow for you is the goal here.
With that in mind, I wanted to share a few tips that I’ve learned along the way! Firstly, Don’t forget to set your printing scale to 100%. It’s such a simple thing, and it’s said so often, yet I’m sure we’ve all been guilty of forgetting it.

Watch out for that little piece above the top of the lava lamp that should be wallpaper. On the pattern it’s labelled as “B4.” I’ve seen a lot of test blocks incorrectly using fabric from the lava lamp base. A helpful tip is to colour your paper pattern pieces with some coloured pencils so you can easily remember which parts are the lava lamp versus the wallpaper versus the table cloth.
When combining sections that need to be aligned, I stick a pin through each corner to create the alignment, and then use a wonder clip to hold them in place while I sew them together.

After making a few blocks, I started to pre-cut my fabric pieces so they’re ready to go for quicker piecing when I sit down to sew. The sizes of these pieces will vary for everyone, depending on your skill level with foundation paper piecing. If you’re new, don’t be afraid to size up and waste a bit of fabric. In the long run that extra bit of wastage will outweigh having to rip out teeny-tiny stitches when you make a mistake. Likewise, I have all of my wallpaper and table fabrics already combined for every Lava Lamp block. Some of you may like to design more on the fly, and that’s totally groovy, too. Do what works for you.
I use a little bit of blue painters tape to stick my fabrics to the paper pattern pieces while cutting around them.

Another thing I’ve learned about paper piecing is that because you’re sewing on paper, seam allowances can be a bit abnormal. This can cause the final sizes of each block to vary. To account for that, I don’t trim the edges of the external pattern pieces until I’ve fully assembled the block. This is a completely optional step, that I haven’t started doing until recently.

At the end of the day, there are no hard and fast rules, and no such thing as perfection. Use the tools and methods that work for you, to create a lava lamp that you’re happy with. Remember, this is your quilt! So use the pattern as a starting point, and let your lava flow any which way you want it to!


Great idea! I am not quilting these days, but do have a few lavalamps which should work–seems like getting the right lights for them can be a fuss though. Maybe that’s why a quilt of them would be even better!
As a test block, this looks really cool!
Starting my ‘test block’ today. Yay at last I have time to start this Quilt A Long. Can’t wait.